


Follow the construction below
Page 1
Page 2
Page 3
Page 4
Page 5
Page 6
Page 7
Page 8
Page 9
History
Return to First Page
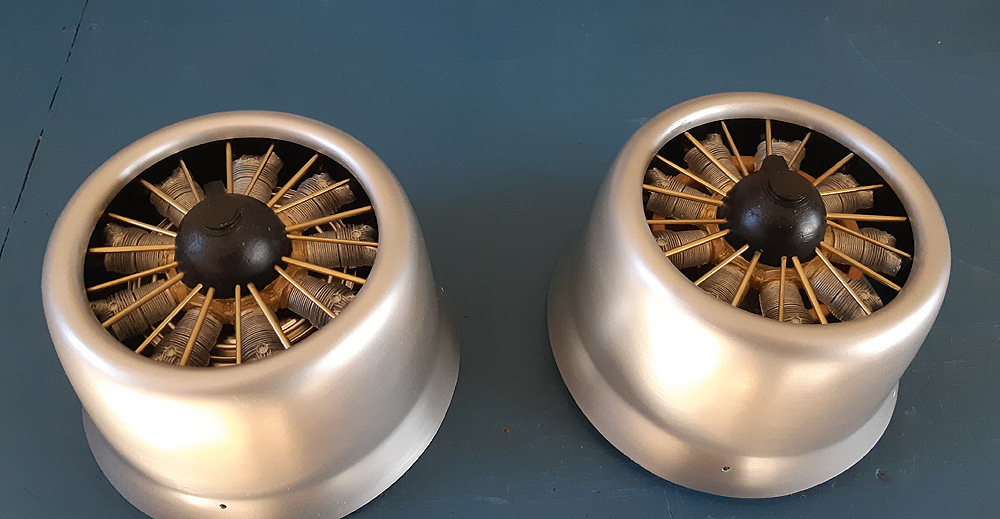 Dummy engines almost finished. Ready for rivits.
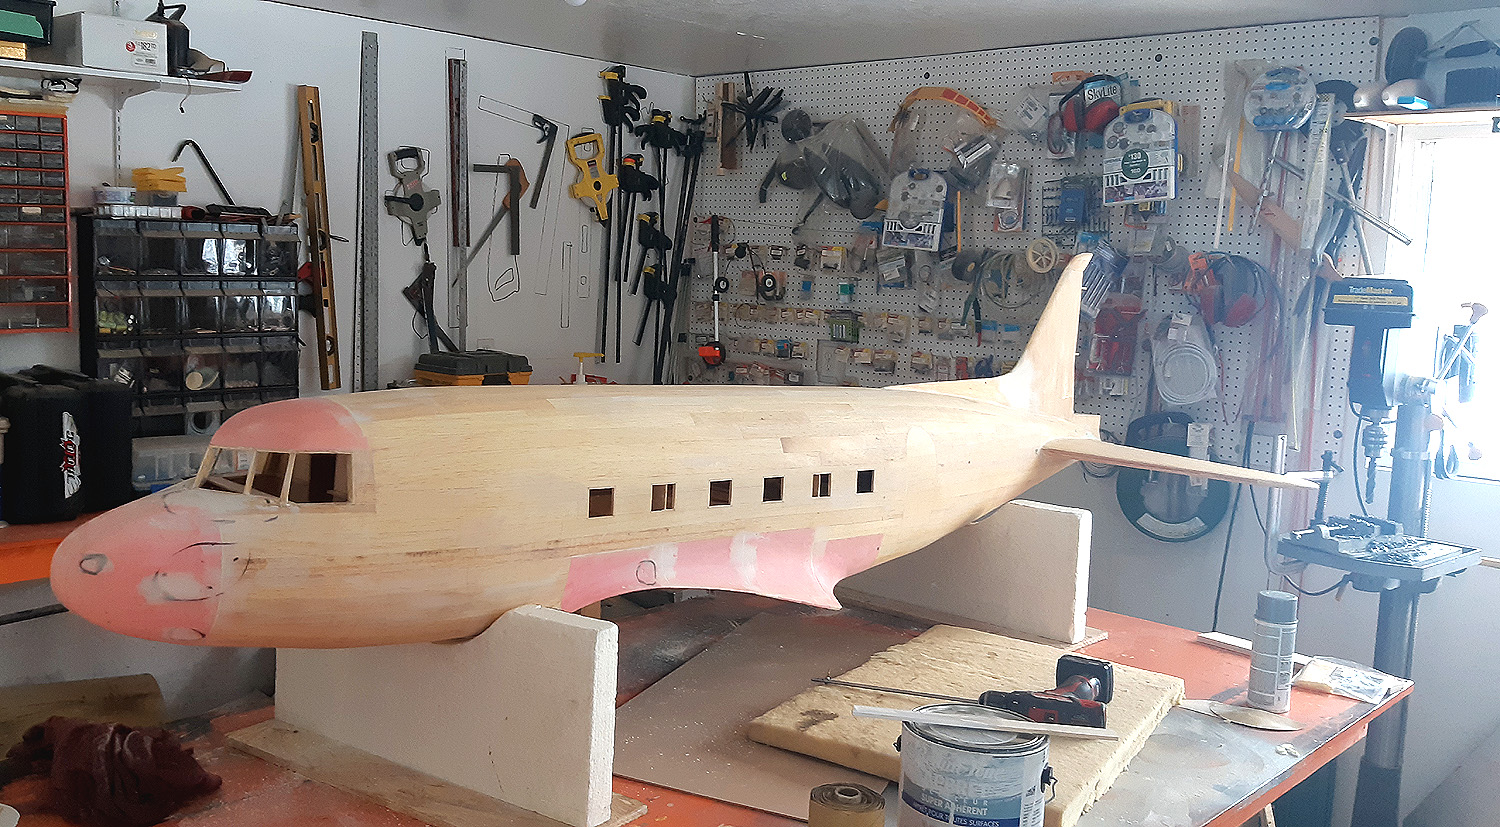 First full sand ready for primer paint.
 First primer coat applied. Now more sanding. Again, glad Dave is doing it :-)
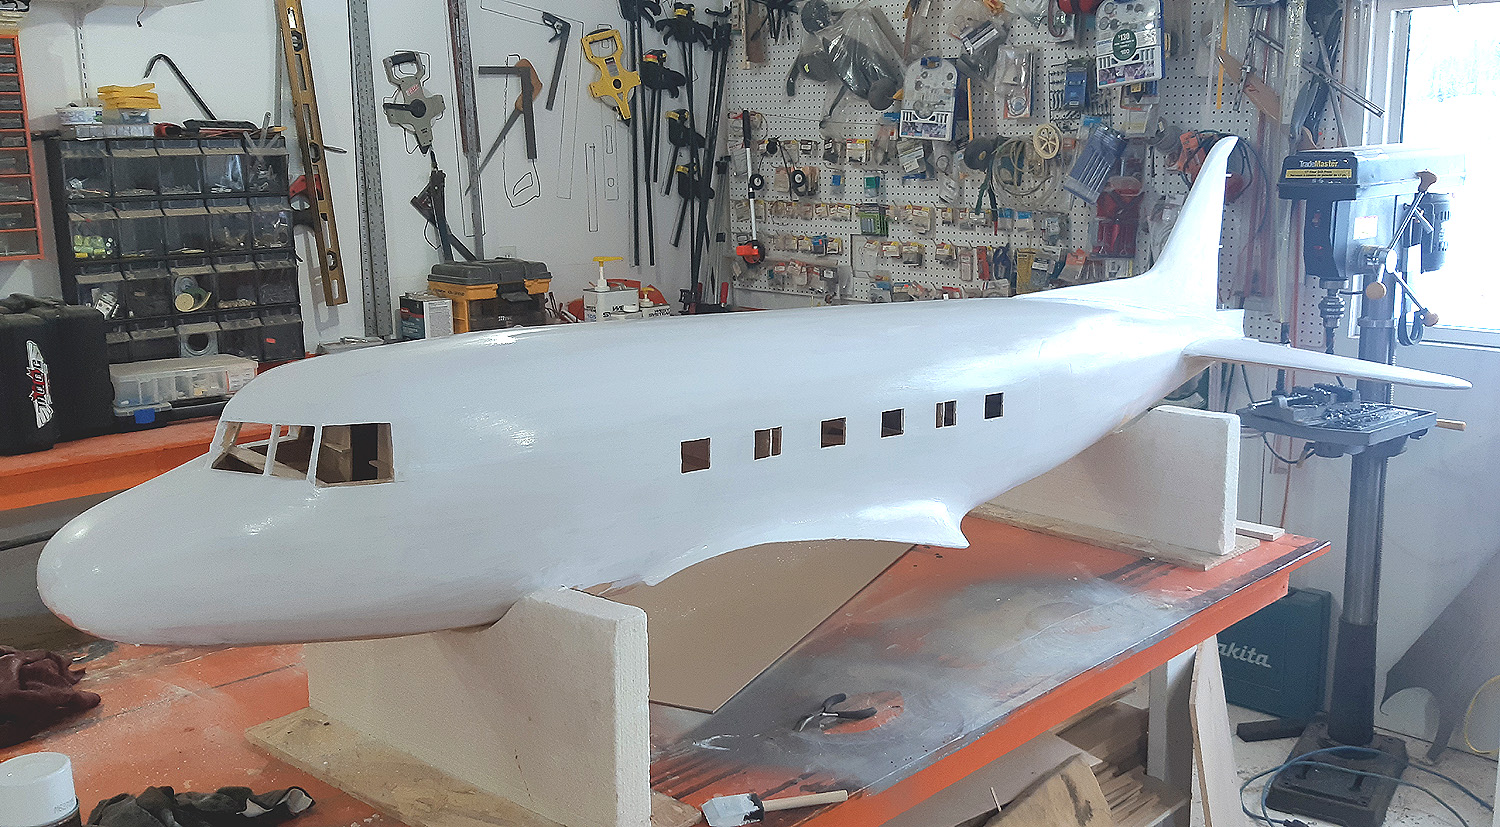
 Ready for second primer coat. Then more sanding.
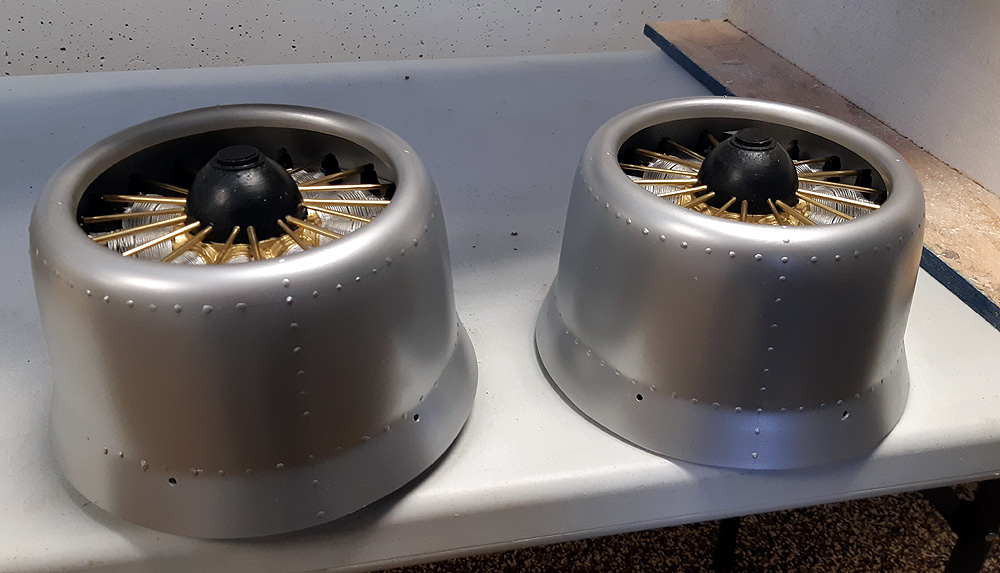 Engine cowlings riveted. Lots of concentration and patience needed.
 Dave's working on the rivets - and there's lot of them. Also considering colours.
 Riveting ongoing and possible colour configuration ???
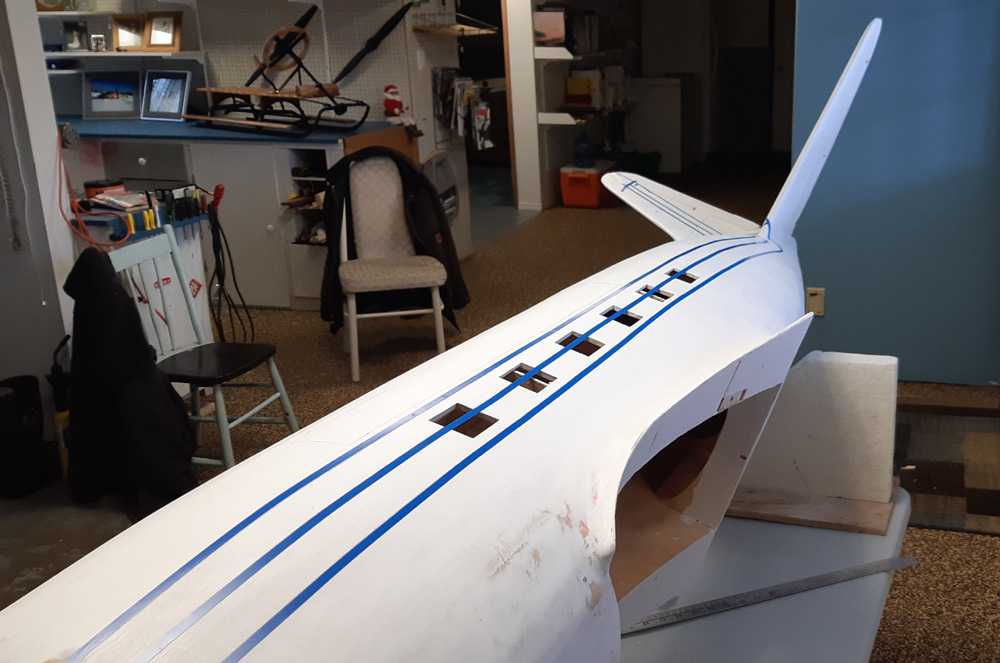
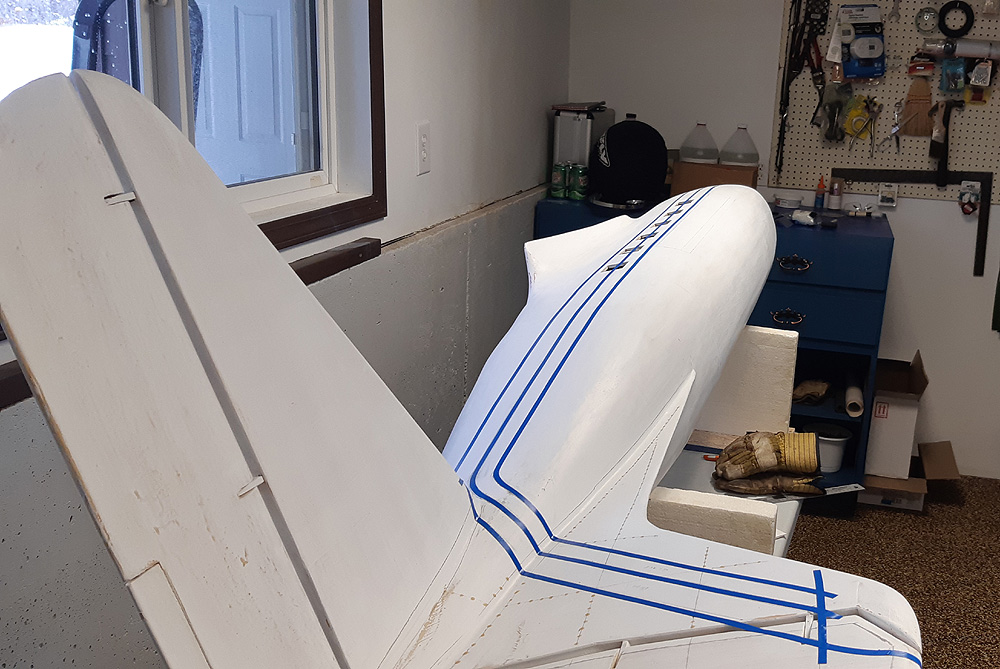
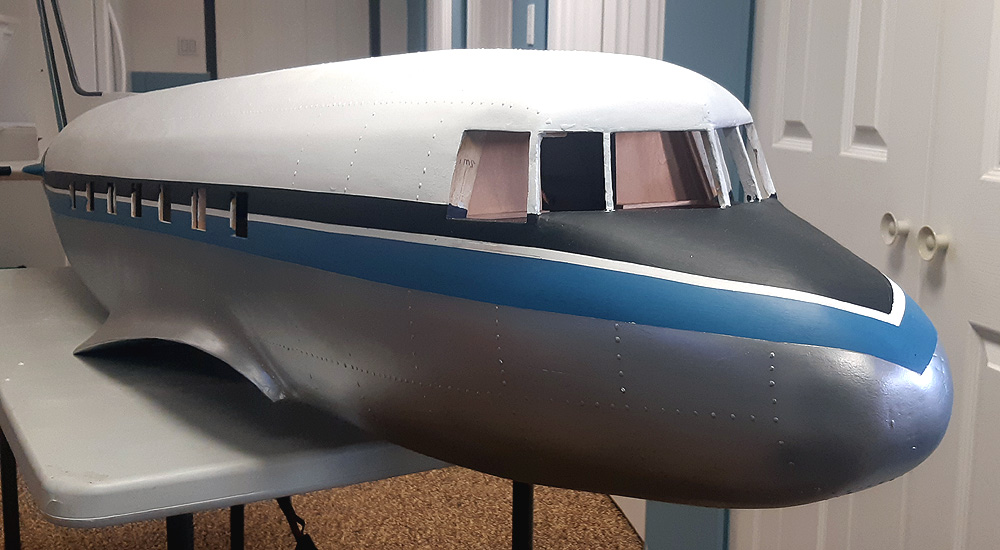
 Working with the colour lines.
 Working with the colour lines.
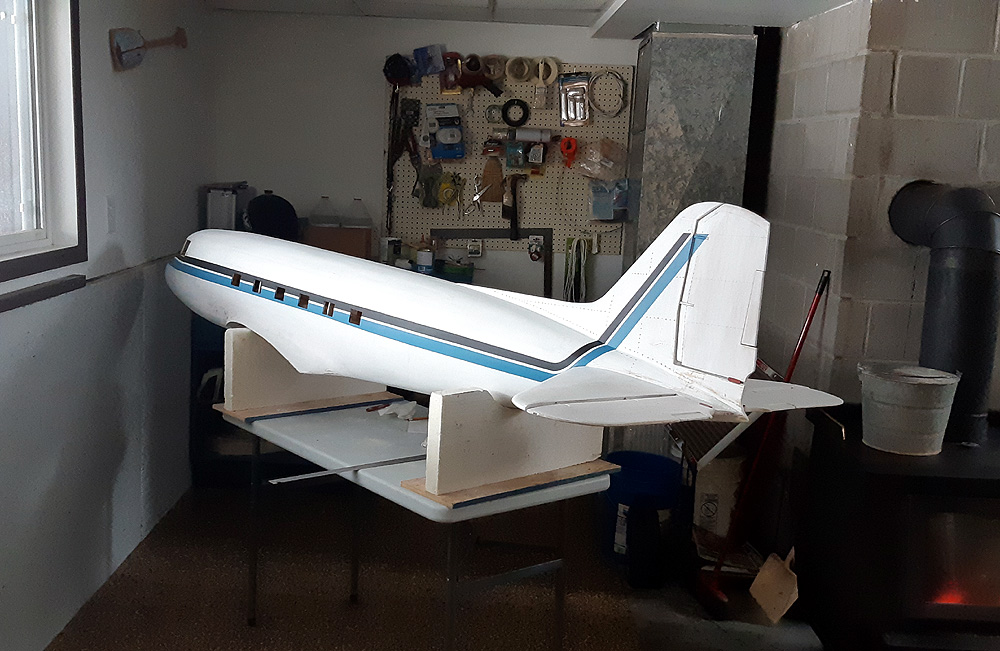
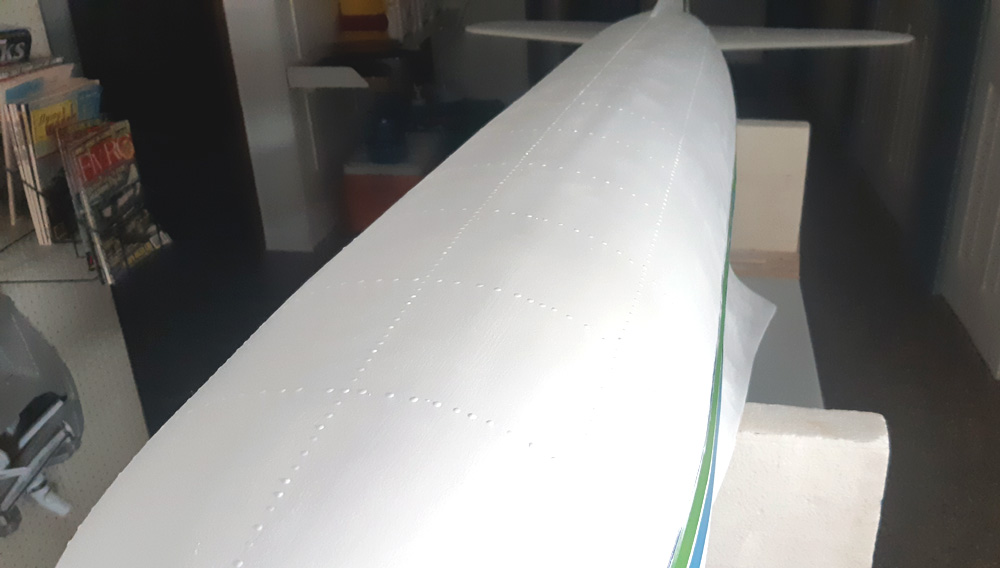 More rivets and a lick of paint on the top. It's looking good Dave.
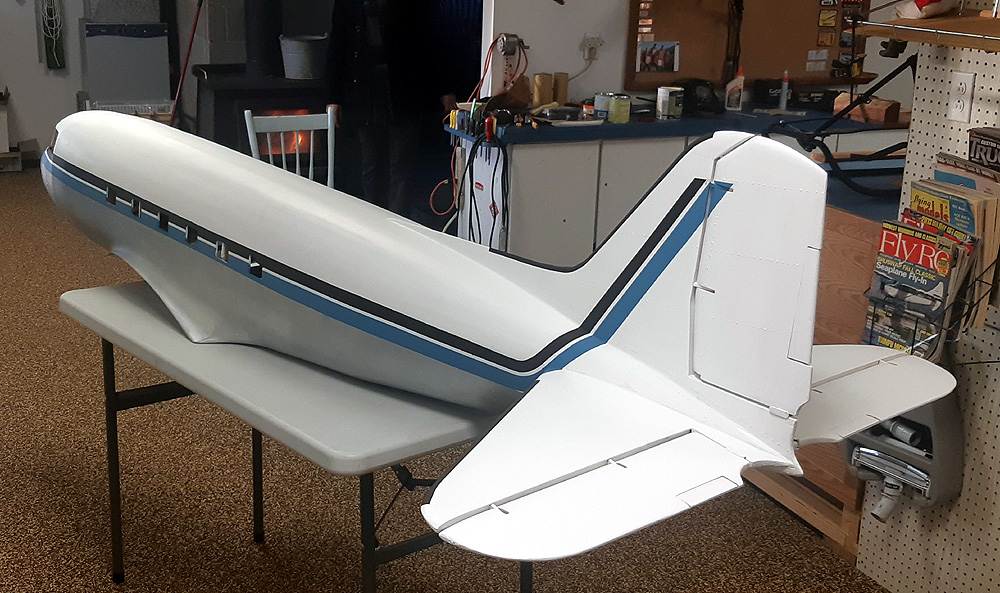
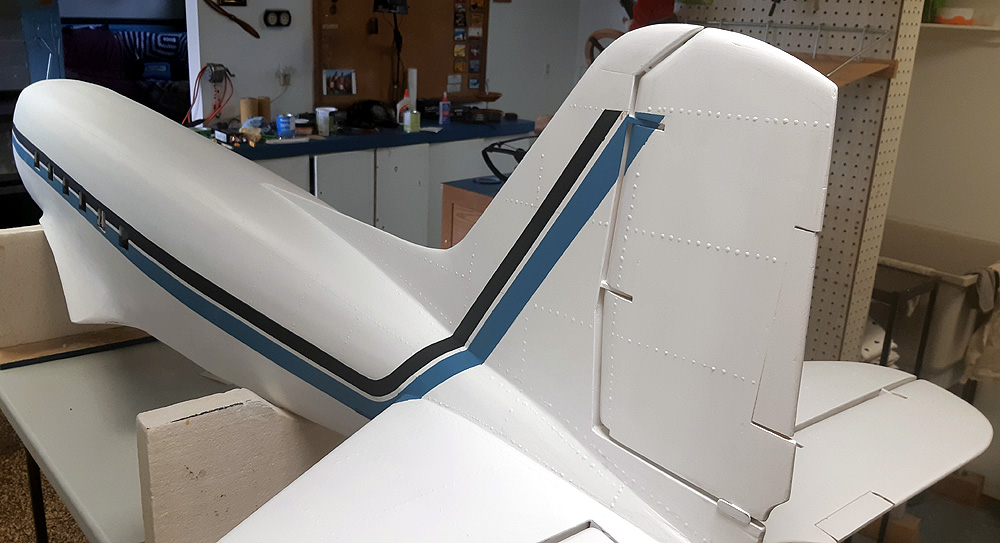 Rear view showing more of the riveting.
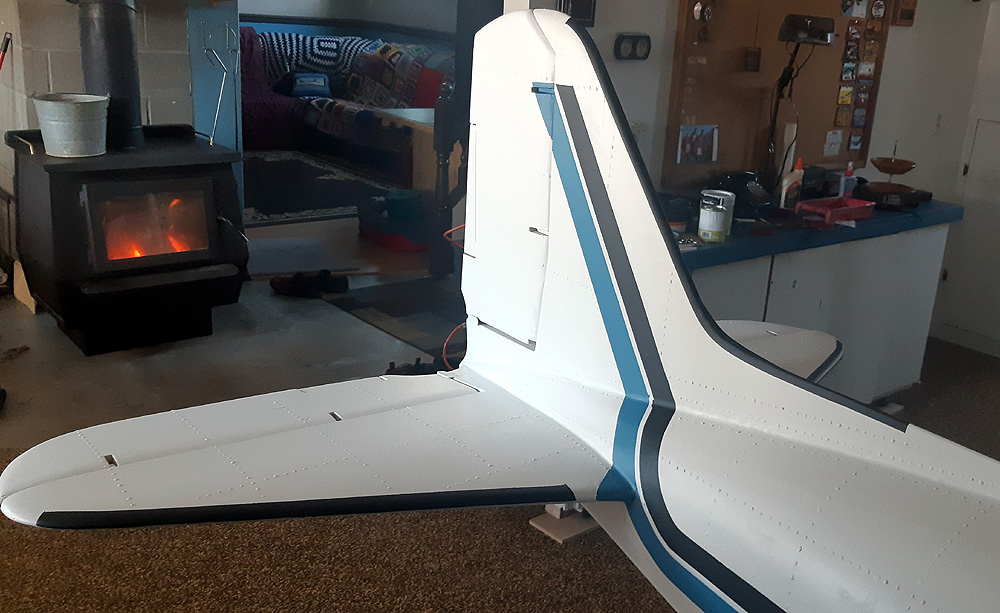 Rear view of tail with de-icing strips applied to leading edges.
 Bottom of the fuselage painted aluminum
 Bottom of the fuselage painted aluminum
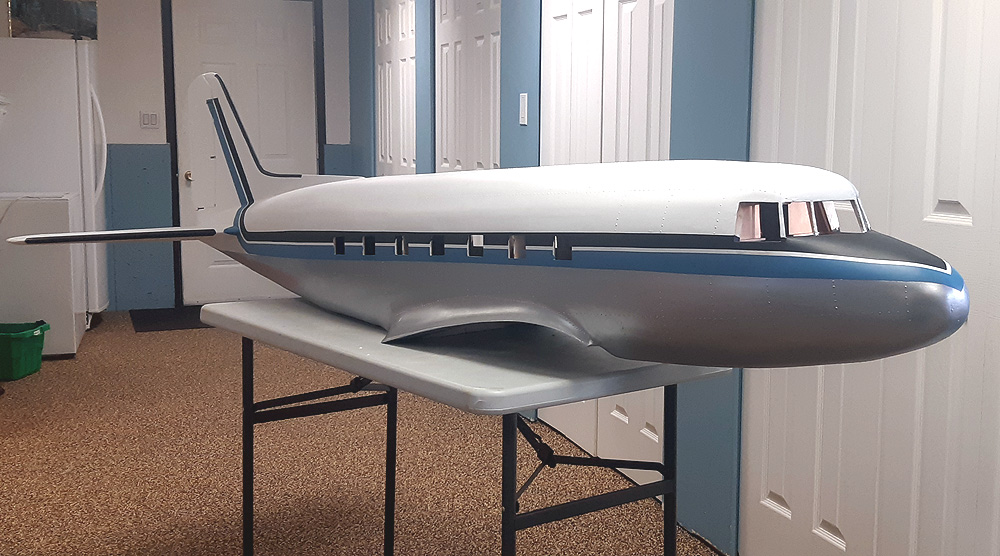
 Dave did a perfect paint job. Good view of rivets.
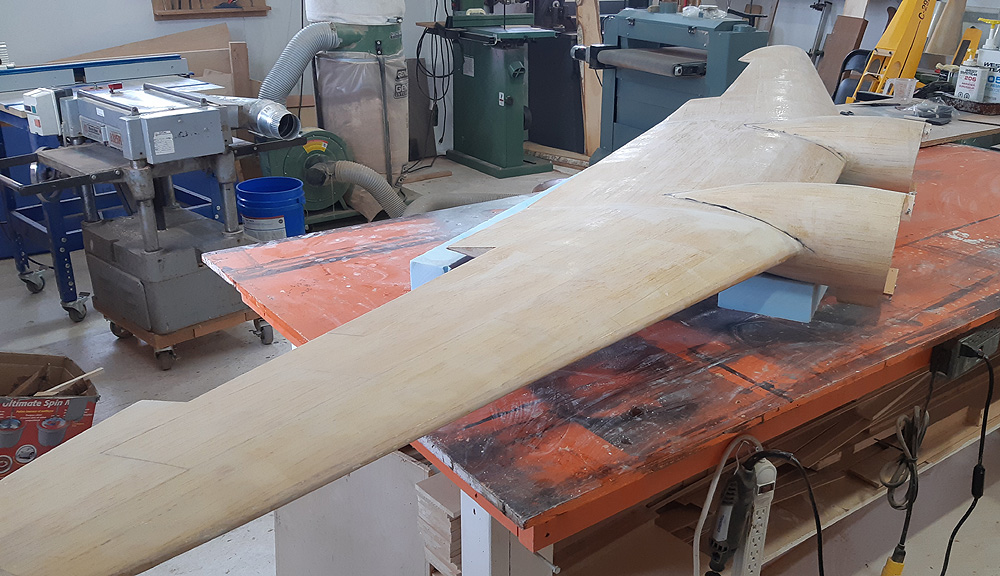
 Sanding the wing bottom.
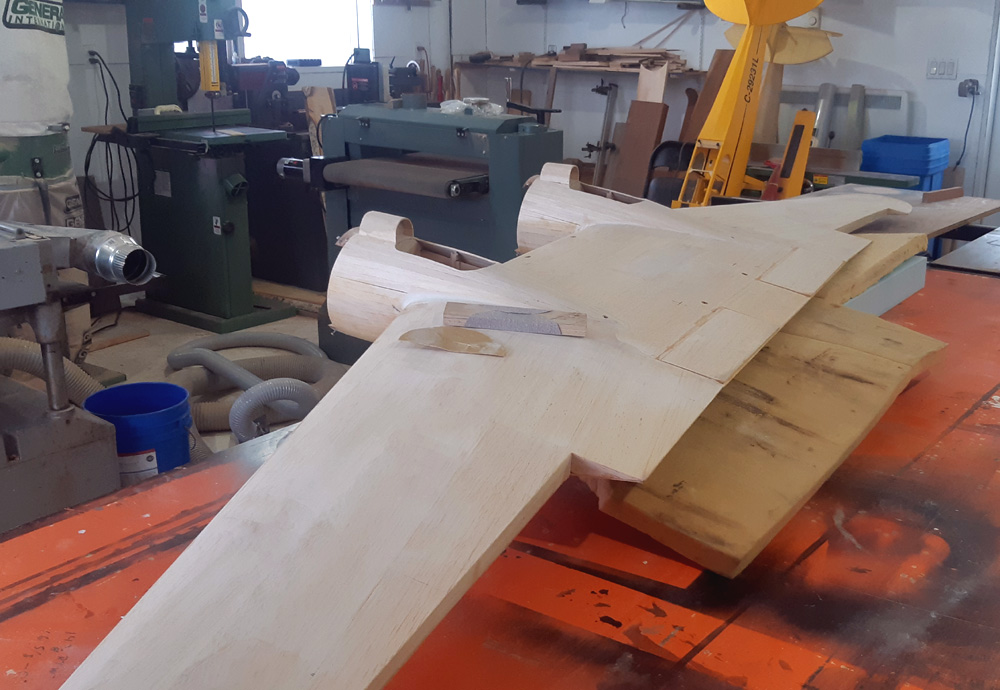
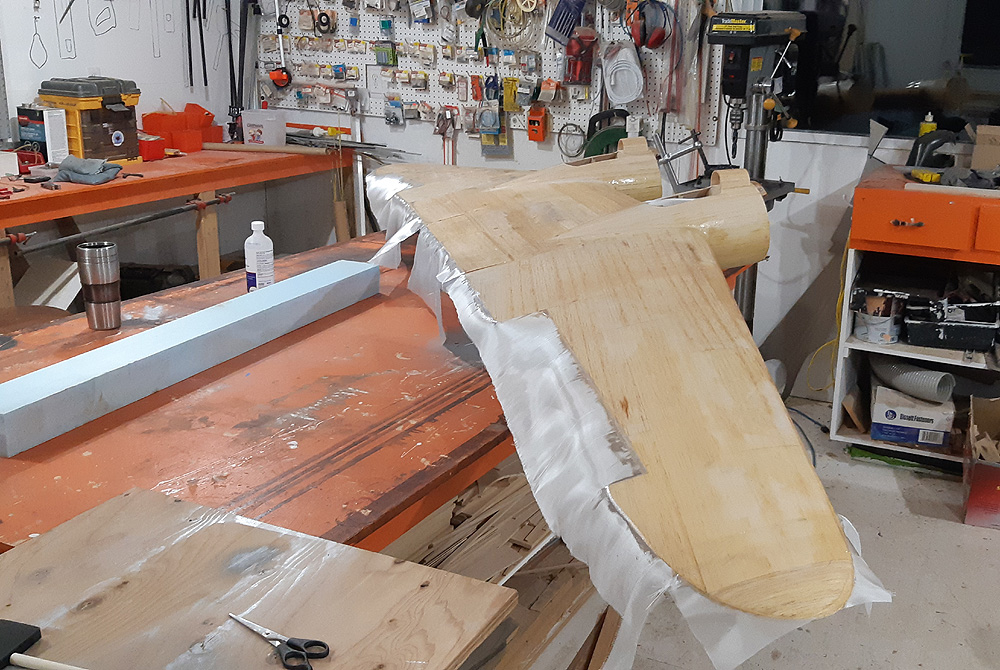
 Preparing the wing bottom for fibreglass. 12 foot span.
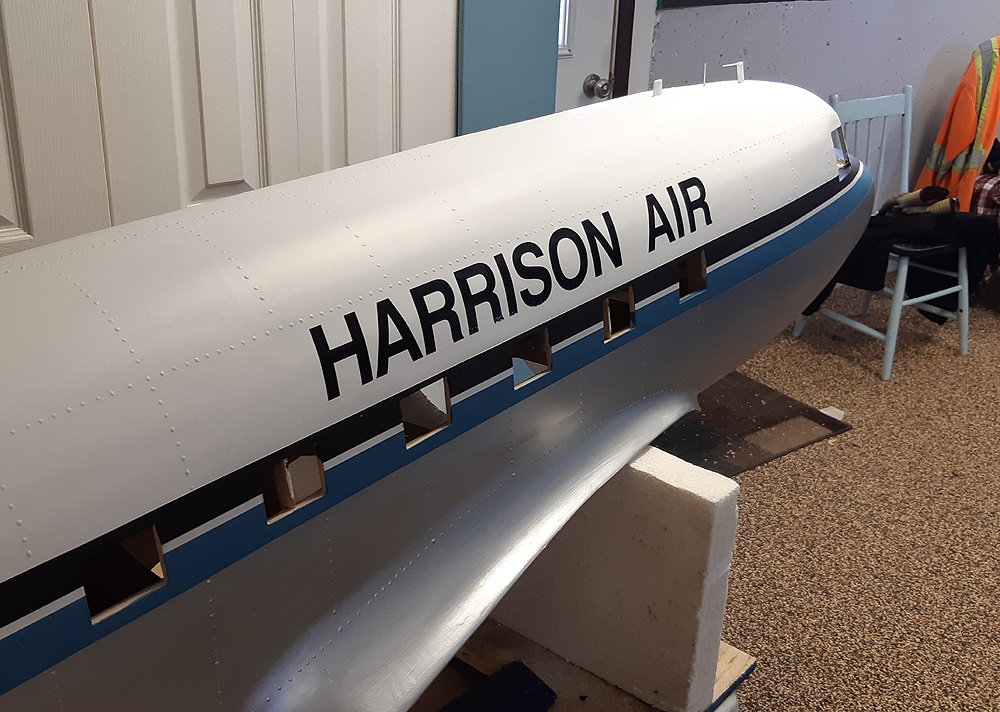 Original company name applied.
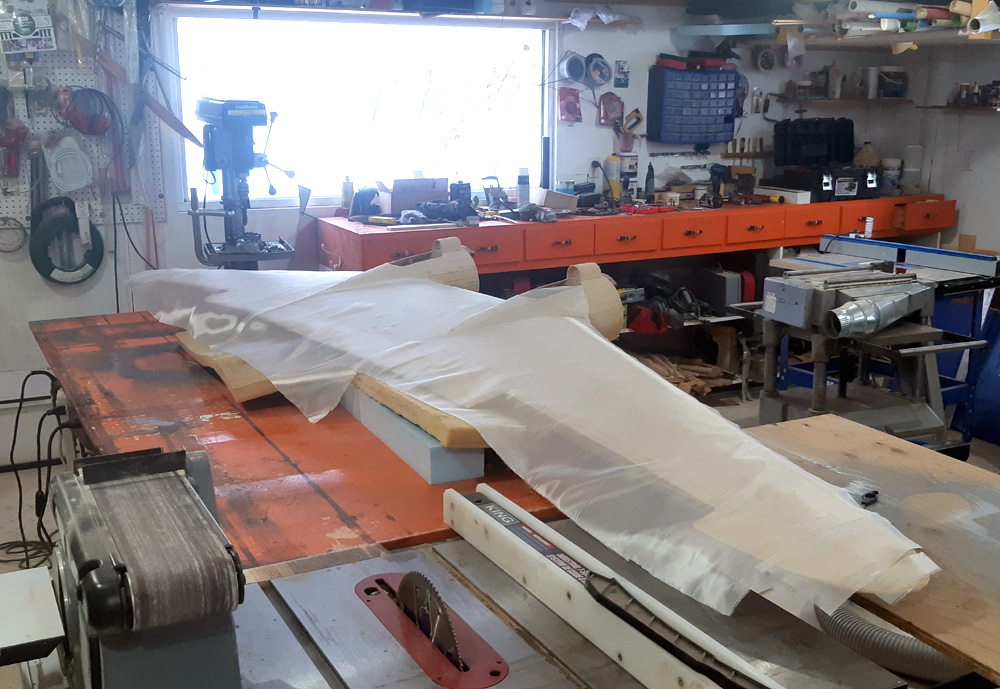
 Fibreglass applied to the wing bottom.
 Dave is staying out of the rain. Wing top sanded.
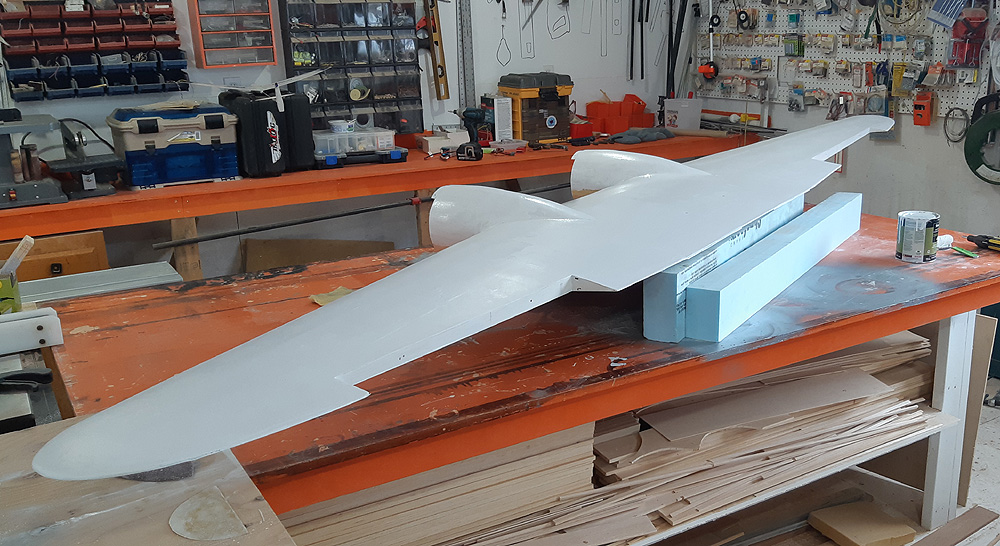 Primer paint applied to the wing top.
Page 1
Page 2
Page 3
Page 4
Page 5
Page 6
Page 7
Page 8
Page 9
History
Return to First Page